This guide follows through the steps of setting up a Notification Channel in three different scenarios. This process does not differ when creating an App Notification Channel and Workspace Notification Channel. Therefore, first decide on whether you want to set up an App or Workspace Notification Channel.
1. If you want to set up an App Notification Channel, click on App Notification Channel

2. If you want to create a Notification Channel for your Workplace, click on Notification Channel

After the environment of the Notification Channel is established, the type of the Notification Channel has to be determined.
Notification Channel – Email
- (Recommended) Create a technical email user from which the notifications will be sent e.g. writeback-mailer@myorg.com
- Select Type Email
- Give a custom name to the Notification Channel
- (Optional) Describe what the Notification Channel will be used for
- Give your SMTP server’s host name or IP address
- (Optional) Tick “Use secure communication” when having an SMPTPS server
- Give the username, users have to use to log into the SMTP server unless you have a corporate SMTP server with network security
- Give the password (this is stored securely) users have to use to log into the SMTP server unless you have a corporate SMTP server with network security
- Give the user domain name
- Give the email address the notifications should be sent from (the technical user’s email address set up in step 1)
- Give a custom name to use for sending notifications e.g. if the email address is writeback-mailer@myorg.com then write Writeback Mailer Bot
- (Optional) Tick the checkbox “Do not check credentials” if you have an SSL server and do not require to check users’ credentials
Notification Channel – Slack
1. Select Type Slack
2. Give a custom name for the notification channel
3. (Optional) Describe what the notification channel will be used for
4. To integrate with Slack, you will have to create a Slack application that can integrate with your Slack workspace directly and is able to send direct messages to users.
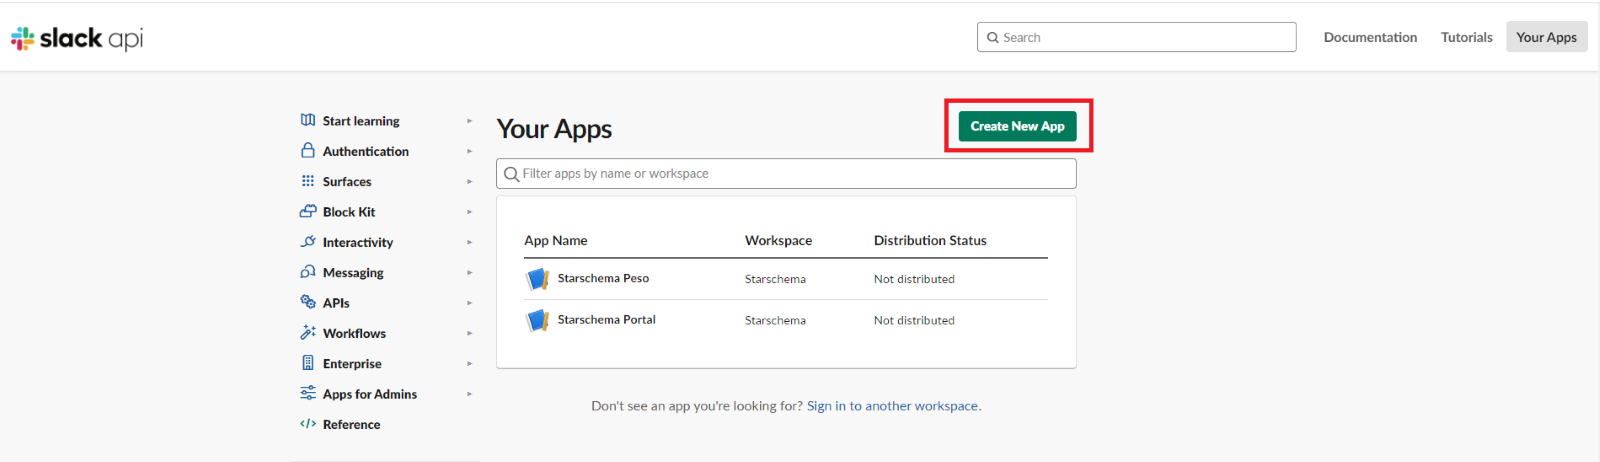
5. Create a new Slack application on the Slack API Apps page
6. Name the application and select the workspace you want to use it on

7. Navigate to OAuth & Permissions

8. On the OAuth & Permission page, add a Bot Token Scope for chat:write

9. On the top of the page, Request to install the application

10. After it has been approved, click Install App to Workspace

11. The app is installed, you will receive the Bot User OAuth Access Token.

12. Provide the value of the Bot User OAuth Access Token to the configuration of the Slack notification channel

The software is now able to send out notifications on Slack.
13. (Optional) You can edit the name of the application (that end users see)

14. (Optional) You can edit the logo of the application (that end users see) on the General page.

Notification Channel – Microsoft Teams
To integrate with Teams, you will have to register an Azure Bot channel which creates an application that can integrate with your Microsoft Teams workspace directly and is able to send direct messages to users.
- Register a new Azure bot channel on the Azure portal page
- In the left panel, click Create a resource.
- In the right panel selection box enter bot. From the drop-down list select Bot Channels Registration.
- Click the Create button.

5. Name the bot handle. (e.g.: annotation-platform-notifications)
6. Select the subscription and resource group. (Other properties can be left on default)
7. By default, it creates an Azure application with the same name. (Manual app registration can be chosen)
8. Navigate to the created Bot Channel with typing 'Bot Services' to the search bar and select the created Bot channel.

9. Select the Channels menu item and add Microsoft Teams channel

10. Navigate to the created App with typing 'App registrations' to the search bar and select the created App.

11. Provide the value of the Application (client) ID to the configuration of the Teams notification channel


12. Navigate to Certificates & secrets and copy the secret value (or create new client secret)


13. Open Microsoft Teams desktop application select your team and copy the Link to team

14. Save the Teams channel by clicking on Create and continue the Teams configuration steps

17. Open App Studio in Teams desktop application

18. Import the APFTNotifications app in Manifest editor with selecting Import an existing app and browsing the downloaded APFTNotifications.zip file

19. Provide the created App id (step 5.) under App details and Bots menu


20. (Optional) You can edit the name of the application (that end users see) in App details
21. (Optional) You can edit the logo of the application (that end users see) in App details Branding section.
22. Install the APFTNotifications app by selecting Test and distribute Install option.

23. Select the team to add

The software is now able to send out notifications on Microsoft Teams
To utilize notification channels, notification bindings have to be created within the annotation rule. There are two main ways of communication in Elements: sending notifications in connection with approvals and tagging.
The following guide follows through the steps of creating notification bindings for both ways.
1. Create an annotation rule and set up the Approval Process (to learn more about approval processes, click here)
Note: You will not be able to set up notification channels without setting up an Approval Process
 2. Click on Create under Notification Settings
3. Select the notification channel you want to utilize. Pay attention to whether you choose an App or Workspace Notification Channel
4. Under approvals, select in which of the three above-mentioned scenarios you want to send notifications
5. (Recommended) In order to customize messages and enable tagging, tick the Checkbox “Send tag events”

6. (Optional) To customize a message click on “Create Template”

7. On the right-hand side of the pop-up, you can customize the subject and the message of the notification

Note: The link container only exists if the Tableau Server is patched
8. (Optional) Click on “Send events for certain user/group tag fields” if different tags should be sent via different Notification Channels

Note: Tagging is only enabled when there was a Type User/group tag form field previously created in the annotation rule
How to enable tagging?
In order to enable tagging and custom messages, a separate form field needs to be added to the annotation rule.
The following guide follows through the steps of enabling and using the tagging feature.
1. Create an annotation rule and add a new form field
2. Select Type User/group tag

3. Set the method how you would want to select your users for tagging e.g. only tag individual users, tag whole user groups (meaning all of the users in the group will receive the notification when tagged), or enable both
4. (Optional) You can restrict who can be tagged on the Tableau Dashboard at “Selectable users”. Only those users will be able to be tagged on the Tableau Dashboard whose names were put down in the “Selectable Users” field. When leaving it empty, all of the users in the app will be able to be tagged on the Tableau Dashboard.

5. You can also select by which name the tagged person should be saved to the Database
6. The users will be tagged by the Tableau Authors in the extension and the notifications are sent out automatically

To see how to set up in which way (Email, Slack, Teams) the users should be notified when tagged on the Dashboard, check out the Notification Binding part.
In order to enable users to receive notifications, their account has to include their usernames for the three supported notification platforms. These usernames can be added to the users’ profile on the Web UI. At the profile section users can give their usernames and save the data. After the profile was updated, the notifications can be sent. Additionally, users can opt out from receiving notifications at the profile section as well.